Introduction to Chocolate Wafer Cookies
When it comes to timeless treats, chocolate wafer cookies are in a league of their own. These thin, crispy cookies have a delicate crunch that pairs beautifully with their rich chocolate flavor. Perfect for snacking, using in desserts, or simply enjoying with a warm cup of tea, they’ve become a staple for many chocolate lovers.
What makes chocolate wafer cookies so special, you might wonder? For one, their versatility is unmatched. Not only are they delicious on their own, but they’re also the perfect base for layered desserts like icebox cakes or crumbled as toppings. Additionally, they’re surprisingly easy to make from scratch, allowing you to skip the store-bought variety and create something truly homemade.
In the sections that follow, we’ll explore everything you need to know to craft your own batch of these delightful cookies. From selecting the finest ingredients to mastering baking techniques, we’ll guide you step by step. So, let’s dive right in and uncover the secrets to making perfect chocolate wafer cookies!
Essential Ingredients for Chocolate Wafer Cookies
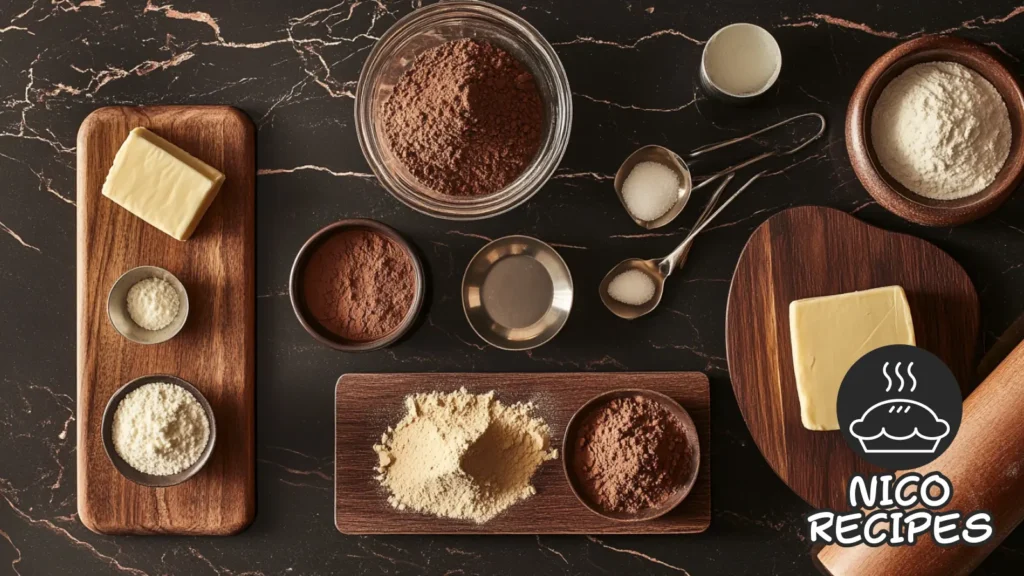
Now that we’re ready to get started, let’s talk about the ingredients. Each one plays a crucial role in making chocolate wafer cookies crisp, flavorful, and satisfying. By carefully selecting the right components, you can ensure your cookies turn out perfectly every time.

Selecting the Best Cocoa Powder
First and foremost, cocoa powder is the star ingredient in this recipe. It’s important to choose a high-quality, unsweetened variety to get that deep, rich chocolate flavor. For a smoother, milder taste, Dutch-processed cocoa is an excellent choice. On the other hand, if you prefer a slightly tangier, more robust flavor, natural cocoa powder will do the trick. Either way, make sure to sift the cocoa powder before using it, as this prevents clumps and ensures even mixing.
Choosing the Right Flour for Perfect Wafers
Next, let’s discuss flour. All-purpose flour works wonderfully for this recipe because it provides the right balance of structure and tenderness. However, if you’re aiming for an even crisper texture, you can substitute a small portion of the flour with cornstarch. As always, be sure to sift the flour as well—this little step makes a big difference in achieving a smooth and uniform dough.
The Role of Butter and Sugar in Wafer Texture
Lastly, let’s not forget the magic combination of butter and sugar. Butter adds richness to the cookies, while sugar creates the crisp texture that makes wafers so delightful. Granulated sugar is typically the best option because it caramelizes during baking, contributing to that satisfying crunch. However, for a slightly softer texture, consider swapping in a small amount of brown sugar—it also brings a subtle molasses-like flavor that complements the cocoa beautifully.
By paying attention to these ingredient choices, you’ll be well on your way to crafting chocolate wafer cookies that are a cut above the rest. Up next, we’ll move into the actual process of making these cookies step by step.
Step-by-Step Guide to Making Chocolate Wafer Cookies
Now that you’ve gathered your ingredients, it’s time to turn them into a batch of delicious chocolate wafer cookies. With each step, you’ll see how simple and satisfying the process can be. Let’s get started!

Preparing the Dough
- Measure Your Ingredients Accurately: Before diving in, ensure all your ingredients are measured and ready to go. This makes the process smoother and prevents errors.
- Cream Butter and Sugar: Begin by creaming the butter and sugar together in a mixing bowl. This step is crucial because it incorporates air, giving the cookies a light texture.
- Add Cocoa Powder: Next, sift in the cocoa powder gradually. Mixing it in small portions helps avoid lumps and ensures the chocolate flavor is evenly distributed.
- Incorporate the Flour: Slowly add the sifted flour to the mixture. Stir until the dough just comes together—overmixing can make the cookies tough.
- Chill the Dough: Wrap the dough in plastic wrap and place it in the refrigerator for at least 30 minutes. This step is important because it firms up the dough, making it easier to roll and cut.
Shaping and Cutting the Wafers
- Preheat the Oven: While the dough chills, preheat your oven to 350°F (175°C) and line your baking sheets with parchment paper.
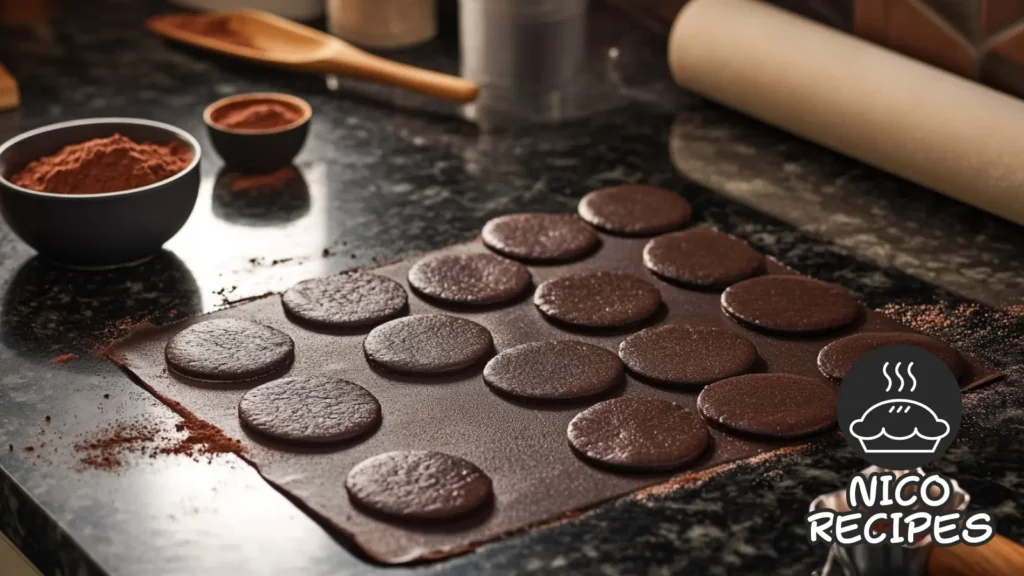
- Roll Out the Dough: Once chilled, roll the dough out on a lightly floured surface to about 1/8-inch thickness. Using a rolling pin ensures an even thickness, which is key for uniform baking.
- Cut the Dough: Use a cookie cutter to cut out shapes. Round cutters are traditional, but feel free to get creative with shapes that suit your style. Carefully transfer the cutouts to the prepared baking sheets.
Baking to Perfection
- Bake the Cookies: Place the baking sheets in the preheated oven and bake for 8–10 minutes. Keep an eye on the cookies to prevent overbaking—they should be set but not too dark.
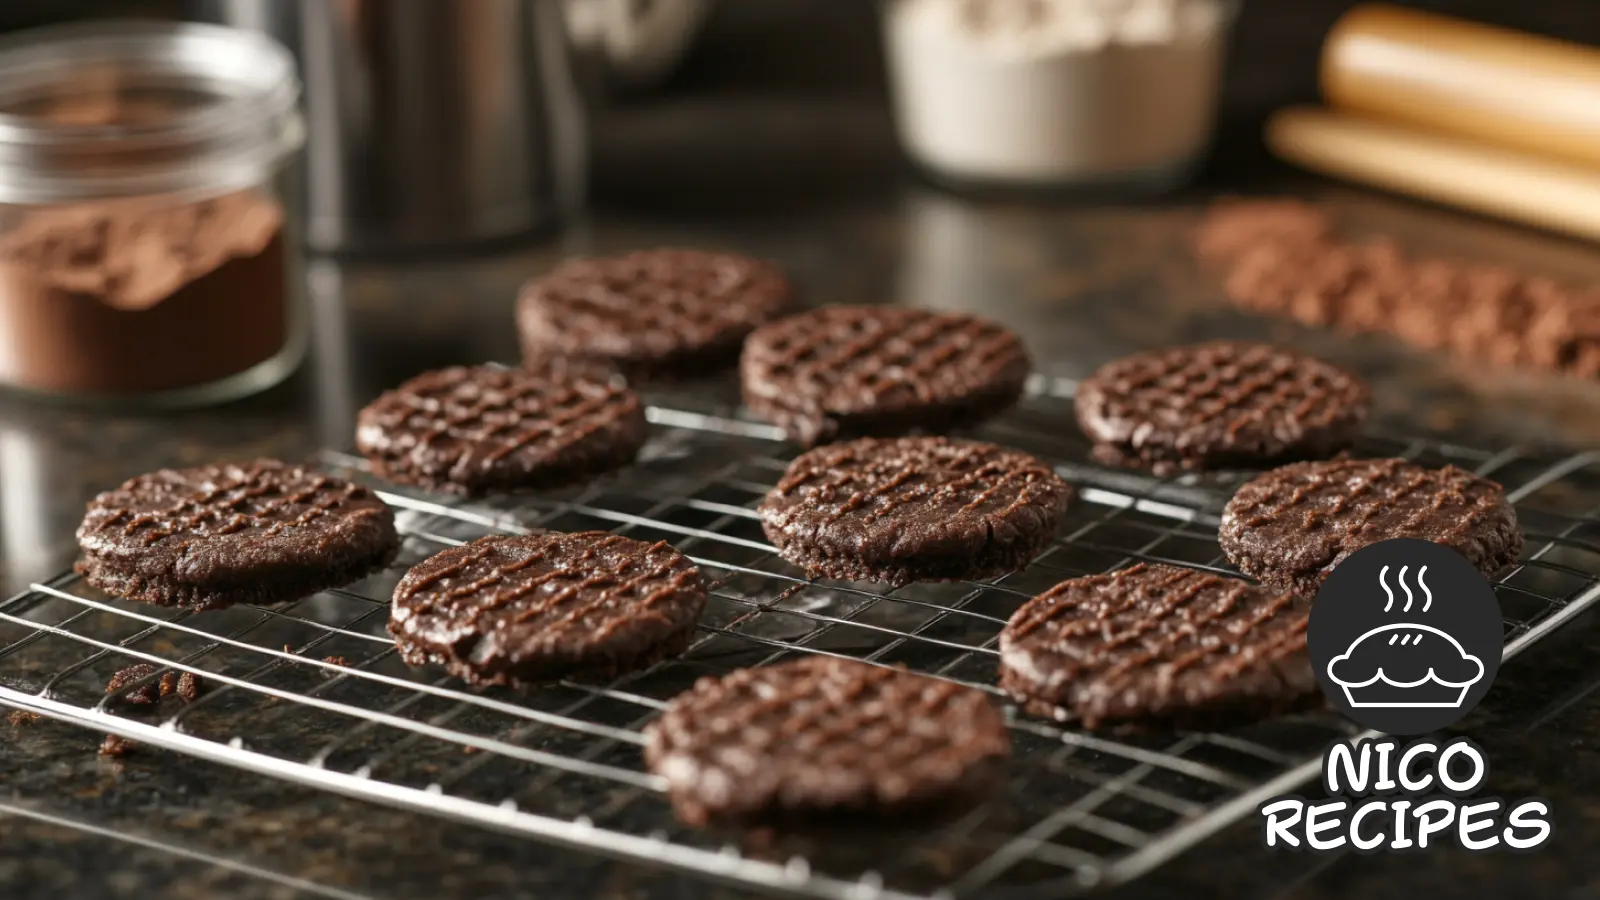
- Cool the Cookies: Remove the baking sheets from the oven and let the cookies cool for a few minutes before transferring them to a wire rack. Cooling completely ensures they achieve the perfect crisp texture.
And there you have it—a simple process to create your own chocolate wafer cookies! Up next, we’ll dive into some tips and tricks to help you perfect your technique.
Tips for Perfect Chocolate Wafer Cookies
Now that you know how to make chocolate wafer cookies, let’s explore some tips and tricks to ensure every batch turns out perfectly. Even the simplest adjustments can make a significant difference, so let’s dive right in!
Achieving the Ideal Crispness
- Roll the Dough Evenly: To ensure uniform baking, roll the dough to an even thickness, ideally about 1/8 inch. Thin cookies bake more evenly and crisp up better.
- Don’t Skip the Chill: Chilling the dough is a step you shouldn’t overlook. It prevents the cookies from spreading too much during baking and helps maintain their shape.
- Use the Right Bake Time: Keep a close eye on your cookies while they’re in the oven. Baking for 8–10 minutes is usually perfect, but thinner cookies may require less time. Remove them when the edges are firm but not overly browned.
Troubleshooting Common Issues
- Cookies Spreading Too Much: If your cookies are spreading more than expected, the dough might be too warm. Pop it back in the fridge for another 15–20 minutes before rolling.
- Crumbly Dough: If the dough feels dry and crumbly, add a teaspoon of milk or water at a time until it holds together. Be careful not to overdo it, as the dough should remain firm.
- Uneven Baking: For consistent results, rotate your baking sheets halfway through the baking time. This ensures the cookies bake evenly, regardless of any hot spots in your oven.
Pro Tips for Enhanced Flavor
- Toast the Cocoa Powder: For a deeper chocolate flavor, lightly toast the cocoa powder in a dry skillet over low heat before adding it to the dough. Let it cool completely before mixing.
- Add a Pinch of Salt: A tiny pinch of salt enhances the sweetness of the cookies and makes the chocolate flavor pop even more.
- Experiment with Extracts: While vanilla is a classic addition, a small amount of almond or peppermint extract can add a unique twist to the cookies.
By following these tips, you’ll consistently bake chocolate wafer cookies that are crisp, flavorful, and utterly irresistible. Ready to explore creative variations of this classic recipe? Check out our Milk Bar Pumpkin Pie Recipe for another delicious dessert to try!
Variations of Chocolate Wafer Cookies
Chocolate wafer cookies are incredibly versatile, and with a few simple tweaks, you can create exciting variations to suit different tastes and dietary needs. Let’s explore some creative twists on this classic treat!
Gluten-Free Chocolate Wafers
If you’re catering to gluten-free eaters, don’t worry—these cookies can be just as delicious without traditional flour.
- Use Gluten-Free Flour: Replace the all-purpose flour with a gluten-free baking blend that includes xanthan gum or a similar binder. This ensures the cookies hold their structure.
- Add a Touch of Cornstarch: Cornstarch can enhance the crispness of gluten-free versions, making the texture comparable to the original.
With this variation, everyone can enjoy the rich flavor and crisp texture of chocolate wafer cookies.
Vegan Chocolate Wafer Cookies
For a plant-based option, a few ingredient swaps make these cookies vegan-friendly without compromising on taste.
- Butter Replacement: Substitute the butter with vegan margarine or coconut oil. Both work beautifully, though coconut oil will add a slight tropical flavor.
- Egg-Free Dough: Since this recipe doesn’t use eggs, there’s no need for additional substitutes, making it naturally easier to adapt.
- Check the Cocoa Powder: Ensure the cocoa powder you use is certified vegan, as some brands may process it with animal products.
Vegan chocolate wafer cookies are perfect for those following a plant-based lifestyle or anyone looking to try something new.
Double Chocolate Wafer Cookies
For chocoholics, why stop at just one layer of chocolate? This variation adds even more indulgence.
- Add Chocolate Chips: Mix in mini chocolate chips or finely chopped dark chocolate into the dough for bursts of extra chocolate in every bite.
- Chocolate Drizzle: Once baked and cooled, drizzle melted chocolate over the cookies for a decorative and decadent finish.
- Cocoa Nibs Topping: Sprinkle cocoa nibs on the cookies before baking for an added crunch and intensified chocolate flavor.
These variations let you customize chocolate wafer cookies to fit any occasion, preference, or craving. Ready to see how these cookies pair with drinks and desserts?
Pairing Chocolate Wafer Cookies
Chocolate wafer cookies are delightful on their own, but pairing them with the right beverages or incorporating them into desserts can elevate their appeal to new heights. Let’s explore some creative and delicious ways to enjoy these cookies.
Ideal Beverages to Complement the Flavor
- Coffee and Espresso: The rich, bold flavor of coffee or espresso pairs beautifully with the sweetness of chocolate wafer cookies. Whether you enjoy a simple black coffee or a frothy cappuccino, this combination is sure to please.
- Milk: There’s a reason milk and cookies are a classic duo. A glass of cold milk—whether it’s dairy, almond, or oat—balances the crisp texture and chocolatey taste of these cookies perfectly.
- Hot Chocolate: For a truly indulgent experience, pair chocolate wafer cookies with a warm cup of hot cocoa. Add a dollop of whipped cream or a sprinkle of cinnamon for an extra cozy treat.
- Tea: Light teas, such as chamomile or mint, provide a refreshing contrast to the rich flavor of the cookies. Alternatively, a robust black tea like Earl Grey complements their chocolatey depth.
Incorporating Wafers into Desserts
- Ice Cream Sandwiches: Use two chocolate wafer cookies as the base for a homemade ice cream sandwich. Simply add a scoop of your favorite ice cream between the cookies and freeze until firm.
- Cheesecake Crust: Crush the cookies and mix with melted butter to create a flavorful crust for cheesecakes or tarts. Their chocolatey crunch is the perfect base for creamy desserts.
- Trifles and Parfaits: Layer crumbled chocolate wafer cookies with whipped cream, custard, or fruit for a quick and elegant dessert.
- Cookie Crumbles: Sprinkle crushed cookies over sundaes, yogurt, or pudding for added texture and a chocolatey kick.
These pairings and dessert ideas showcase the versatility of chocolate wafer cookies, transforming them from a simple treat into something extraordinary. For more creative dessert inspiration, check out our Fruit Cocktail recipe. Up next, we’ll address frequently asked questions to clear up any curiosities about these cookies.
Frequently Asked Questions
As versatile and beloved as chocolate wafer cookies are, they often raise a few questions. Let’s address some of the most common queries about these delicious treats.
What can I use in place of Nabisco chocolate wafer cookies?
If you don’t have Nabisco chocolate wafer cookies on hand, don’t fret! Homemade chocolate wafer cookies are a fantastic substitute, offering the same crisp texture and rich chocolate flavor. Alternatively, thin chocolate biscuits or even Oreo cookies with the filling removed can work in recipes like icebox cakes or as a crust base.
Why did Nabisco discontinue chocolate wafer cookies?
It’s true that Nabisco chocolate wafer cookies have become harder to find in recent years, leading many to believe they’ve been discontinued. While availability varies by region, some stores may have stopped carrying them due to demand or supply chain challenges. Luckily, homemade versions are easy to prepare and just as delicious!
Are Nabisco chocolate wafers the same as Oreos?
While they share a similar chocolate flavor, Nabisco chocolate wafers and Oreos differ significantly in texture and usage. Nabisco wafers are thinner and crispier, making them ideal for baking projects like icebox cakes or cheesecake crusts. Oreos, on the other hand, are thicker and come with a creamy filling, which makes them a standalone treat.
What happened to wafer cookies?
Wafer cookies, including chocolate varieties, have seen shifts in popularity over time. While some traditional brands may no longer dominate store shelves, the rise of homemade baking has sparked renewed interest in these versatile treats. This trend has empowered home bakers to recreate classic recipes and experiment with unique variations.
Conclusion
Chocolate wafer cookies are a delightful and versatile treat that never goes out of style. From their thin, crisp texture to their deep chocolate flavor, they’re a favorite for snacking, baking, and creative desserts. Whether you’re enjoying them on their own, pairing them with a warm beverage, or using them as a base for more elaborate recipes, these cookies are sure to impress.
Making chocolate wafer cookies at home offers endless possibilities. You can stick to the classic recipe or try variations like gluten-free, vegan, or double chocolate options to cater to different tastes and dietary preferences. Plus, with the tips and techniques shared in this guide, you’re well-equipped to bake the perfect batch every time.
So why wait? Gather your ingredients, preheat your oven, and experience the joy of creating your own homemade chocolate wafer cookies. Once you’ve had a taste of these freshly baked delights, you’ll wonder why you didn’t make them sooner.
Happy baking, and enjoy every delicious bite! 🍪


